
Ceiling Fan Installation: Know 6 Things
Installing a good quality ceiling fan is a great way to upgrade the overall look of your house. It makes your home aesthetically appealing, improve air circulation, and helps in lowering your energy bill. These fans require less maintenance, and the cost of repair may also be less.
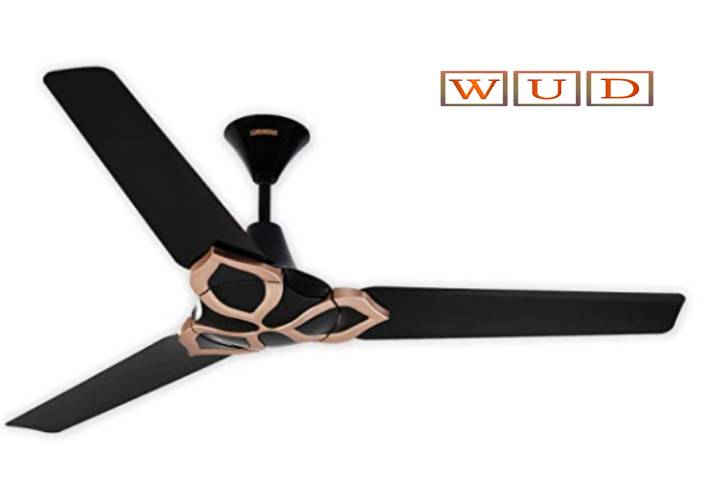
While choosing a ceiling fan online, you should keep in mind that every room has different needs as per space. Thus, selecting a suitable fan for your home is important. Luminous offers a range of ceiling fans that are budget-friendly and artistically appealing.
- A ceiling fan is one of the affordable and easiest ways of cooling in hot and tropical countries like India. Using a ceiling fan can reap you the following benefits:
- A ceiling fan makes the room breezy and windy.
- Whenever there may be a strength cut, ceiling fanatics may be without problems used with a normal strength backup in comparison to an air-conditioner.
- Ceiling fanatics can amp up your house interiors at the same time as handing over dependable and green performance.
- If an air-conditioner is your number one supply of cooling, ceiling fanatics can act as a backup if there may be a destroy down withinside the AC.
- You can effectively save for a ceiling fan on line and pick from a huge sort of options.
- When as in comparison to a pedestrial or a desk fan, a ceiling fan is established at the ceiling.
Apart from benefits, mentioned below is the list of basic things that will help in an easy installation of a ceiling fan: - Before starting with the installation process, ensure that the power is shut off at the circuit breaker.
- Check the installation site for no obstruction.
- To confirm additional safety, caution, and warning information, always read the manufacturer’s instructions.
Also Read: The Importance Of Wi-Fi Security In Protecting Your Network
Installation Process:
1. Prep the Space Well
While shopping for a ceiling fan online, measure the size of your room and buy a fan that matches your room dimensions. The ceiling fan needs to be properly anchored to an electric box that is designed to hold a heavy fixture.. Switch off the electrical power to the fan and use an appropriate testing device before you begin with the installation process.
2. shut down Power to Outlet
Turn off the ability at the fuse and keep any wall switches to the off position. when turning the ability off, use electrical tape across the switches at the wall and also the breaker box.
3. Mount the Junction Box
At this stage, you wish to mount the junction box and insert a disciple brace through the outlet within the drywall and onto the ceiling. Rotate the sq. tube of the box firmly together with your hands till the teeth ar bolted into the beam. you must attach the U-bolt bracket to the fan brace.
4. Set the Downrod
It is well to examine the ceiling height and angle before putting in a downrod. employing a flat surface, slip the cover and run the most wires through. Attach a bulb form fitting at the highest of the downrod.
5. Wire the Ceiling Fan
Connect the fan wires to the most social unit wiring. Match up the wires, for example, black with black and white with white. Once the wires ar firmly connected, push them into the junction box.
6. Attach the Blades and Bulb
Attach every blade bracket to a disciple blade. Some fans keep company with quick-install blades that may build the installation method quicker. to create your ceiling fan visually appealing, you’ll be able to install a lightweight bulb within the center.
Luminous being a premium brand in electronic products, offers some of the best ceiling fans that can save power and money.
Get the Luminous ceiling fan for your home today!